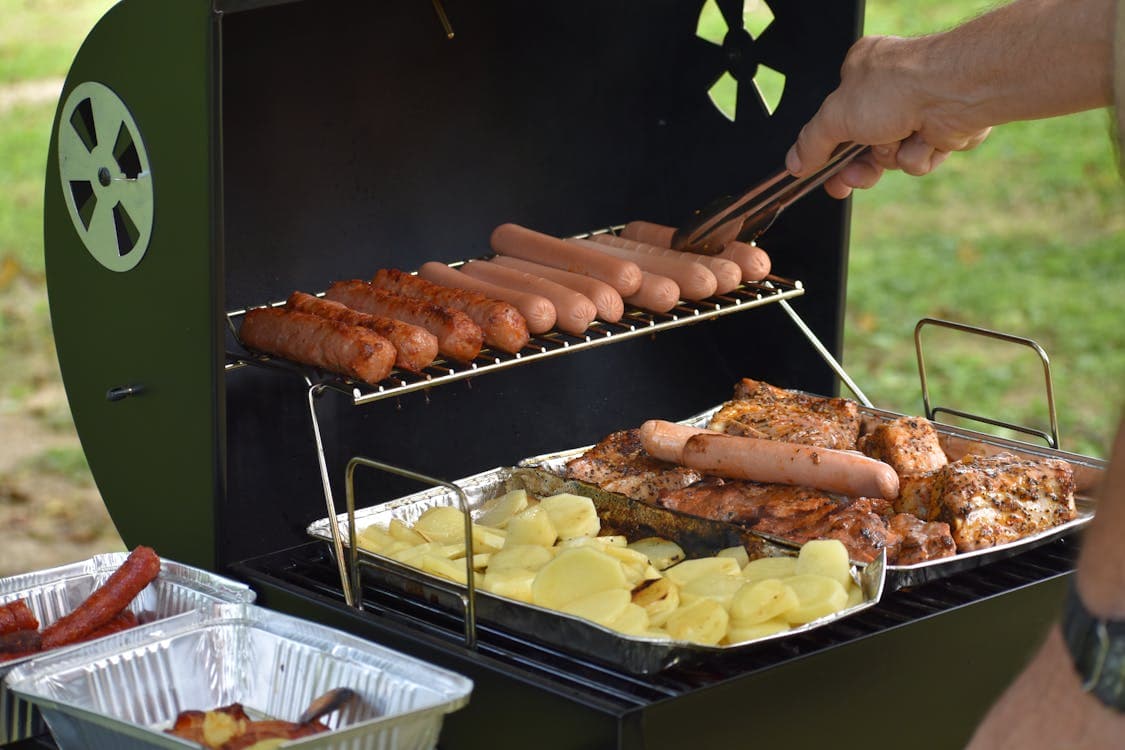
Creative DIY BBQ Projects: Crafting Your Own Smoker and Pit
Barbecue enthusiasts often dream of crafting their own BBQ smoker or pit to perfect their cooking techniques and flavors. Building your own BBQ setup not only saves money but also allows you to customize it to your specific needs and preferences. Here’s a detailed guide on how to embark on these creative DIY BBQ projects.
1. Planning Your DIY BBQ Smoker or Pit
Materials Needed:
- Steel drum or old refrigerator for the smoker
- Bricks or cinder blocks for the pit
- Metal grates
- Heat-resistant paint
- Thermometer
- Drill and metal cutting tools
Considerations:
- Size and Capacity: Consider how much food you want to be able to smoke or grill at one time.
- Location: Choose a safe, well-ventilated area away from flammable structures.
- Budget: Factor in the cost of materials and tools.
2. Building a DIY Smoker
Steps:
- Select a Container: A 55-gallon drum or an old refrigerator works well as the body of your smoker.
- Create Openings: Cut openings for the air intake and chimney. Use a drill and metal saw for precision.
- Add Racks: Install metal grates inside the container to hold the food.
- Seal and Paint: Seal any gaps and paint the smoker with heat-resistant paint to prevent rust.
- Install a Thermometer: To monitor the temperature inside the smoker.
Example:
John, a BBQ enthusiast, transformed an old fridge into a smoker by adding multiple racks and a custom ventilation system, allowing him to smoke various meats and vegetables simultaneously.
3. Constructing a DIY BBQ Pit
Steps:
- Design the Layout: Plan the shape and size of your pit. Rectangular or circular pits are common.
- Lay the Foundation: Dig a pit about 8-10 inches deep and lay a gravel base for drainage.
- Build the Walls: Use bricks or cinder blocks to create the walls of the pit, ensuring they are stable and even.
- Add Grates: Place metal grates over the pit for grilling.
- Optional Features: Consider adding a cover or smokestack for more control over cooking.
Example:
Emily designed a circular BBQ pit in her backyard using cinder blocks and a custom-fitted grate, perfect for large family gatherings.
4. Safety Tips
- Check Local Regulations: Ensure your BBQ smoker or pit complies with local fire safety laws.
- Ventilation: Proper airflow is crucial to safely operate your smoker or pit.
- Regular Maintenance: Inspect and clean your BBQ smoker and pit regularly to maintain safety and performance.
5. Enhancing Your BBQ Experience
Once your DIY smoker or pit is ready, experiment with different woods, such as hickory or mesquite, to find the flavor profiles you love. Invite friends and family over to enjoy the fruits of your labor and share in the fun of outdoor cooking.
Building your own BBQ smoker and pit can be a rewarding project that enhances your cooking skills and enjoyment. With the right tools, materials, and a bit of creativity, you can set up a custom BBQ area in your backyard.
For further guidance or personalized advice on your DIY BBQ projects, chat with Mavyn GPT or connect with one of our human experts at Mavyn. We’re here to help you make your BBQ dreams a reality!
