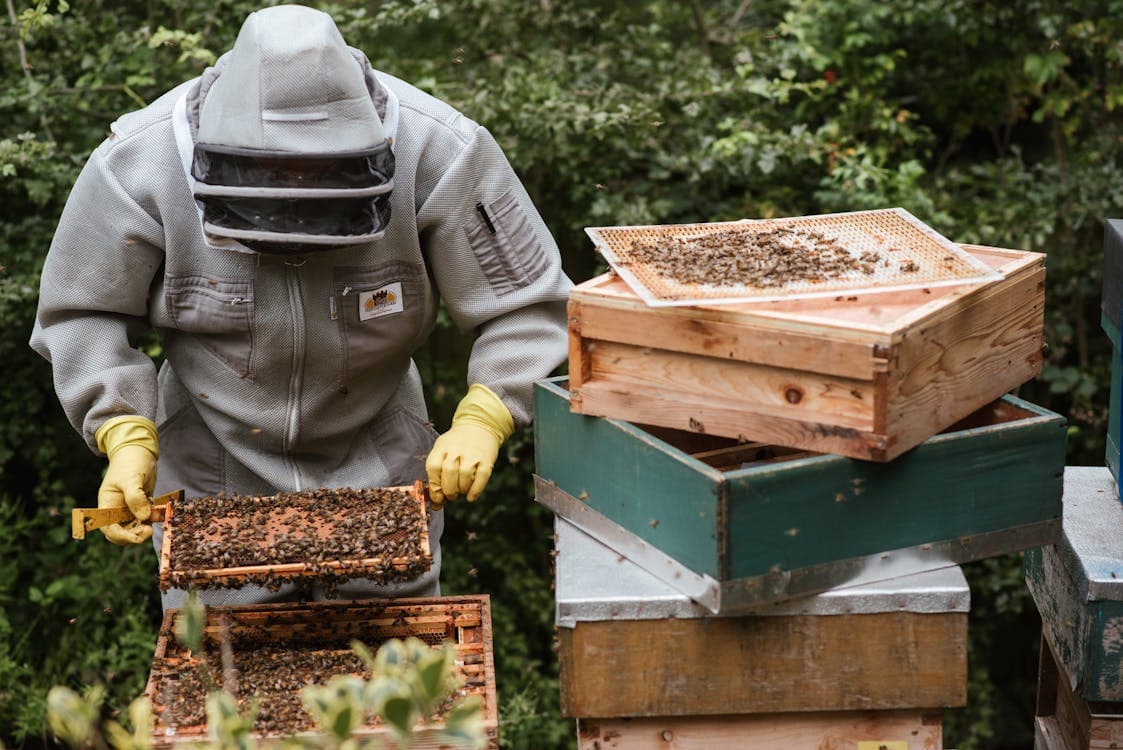
Efficient Honey Harvesting: From Hive to Jar
Harvesting honey is a rewarding process that connects you directly with nature. However, it requires careful planning and execution to ensure the quality and safety of the honey. This guide will walk you through the steps from preparing to harvest, extracting the honey, and finally bottling it for your enjoyment or sale.
Step 1: Preparation
Equipment Needed:
- Bee suit and gloves
- Smoker
- Hive tool
- Honey extractor (manual or electric)
- Uncapping fork or knife
- Strainers or filters
- Clean containers for honey
- Labels (if selling)
Timing Your Harvest:
The best time to harvest honey is late summer or early fall when bees have completed their honey production. Ensure that the honeycomb cells are capped, indicating that the honey is ready.
Step 2: Harvesting Honeycombs
- Smoke the Hive: Lightly smoke the hive entrance and under the lid to calm the bees. Wait a few minutes before opening the hive.
- Remove Frames: Carefully remove the frames with capped honey using the hive tool. Gently shake or brush off any bees from the frames.
- Transport Frames: Place the frames in a clean, bee-proof container for transport to your extraction area.
Step 3: Extracting Honey
- Uncap Frames: Use an uncapping fork or knife to remove the wax caps from both sides of the frame.
- Place in Extractor: Secure the frames in your honey extractor. If using a manual extractor, turn the handle to spin the frames. For electric extractors, follow the manufacturer's instructions.
- Extract Honey: Spin the frames until all the honey is extracted. This may take several minutes per frame.
- Filter Honey: Pour the extracted honey through a strainer or filter to remove any wax particles or debris.
Step 4: Bottling Honey
- Settle Honey: Allow the honey to settle in a clean container for a few days. This helps any remaining debris to float to the top for easy removal.
- Prepare Jars: Ensure your jars and lids are clean and dry. If selling, make sure your labels comply with local regulations.
- Bottle Honey: Carefully pour or ladle the honey into jars. Wipe any spills on the jar rims before sealing with lids.
- Label (Optional): If selling or gifting, label your jars with the harvest date, type of honey, and any other relevant information.
Shop Bee Keeper Starting Kit Now
Step 5: Clean Up
- Clean Equipment: Wash all your equipment and containers with hot, soapy water. Rinse well and allow to dry.
- Return Frames: Once cleaned, return the frames to the hive. Bees will clean up any remaining honey and repair the comb for future use.
Tips for Success
- Check Local Regulations: If selling honey, ensure you comply with local health and labeling regulations.
- Bee Health: Always prioritize the health and safety of your bees. Leave enough honey in the hive for them to survive the winter.
- Storage: Store your honey in a cool, dry place. Properly stored honey can last indefinitely.
Harvesting honey is a fulfilling process that yields a natural, delicious product. By following these steps, you can ensure a successful and efficient harvest, from hive to jar. Enjoy the fruits of your labor and the sweet taste of success!
