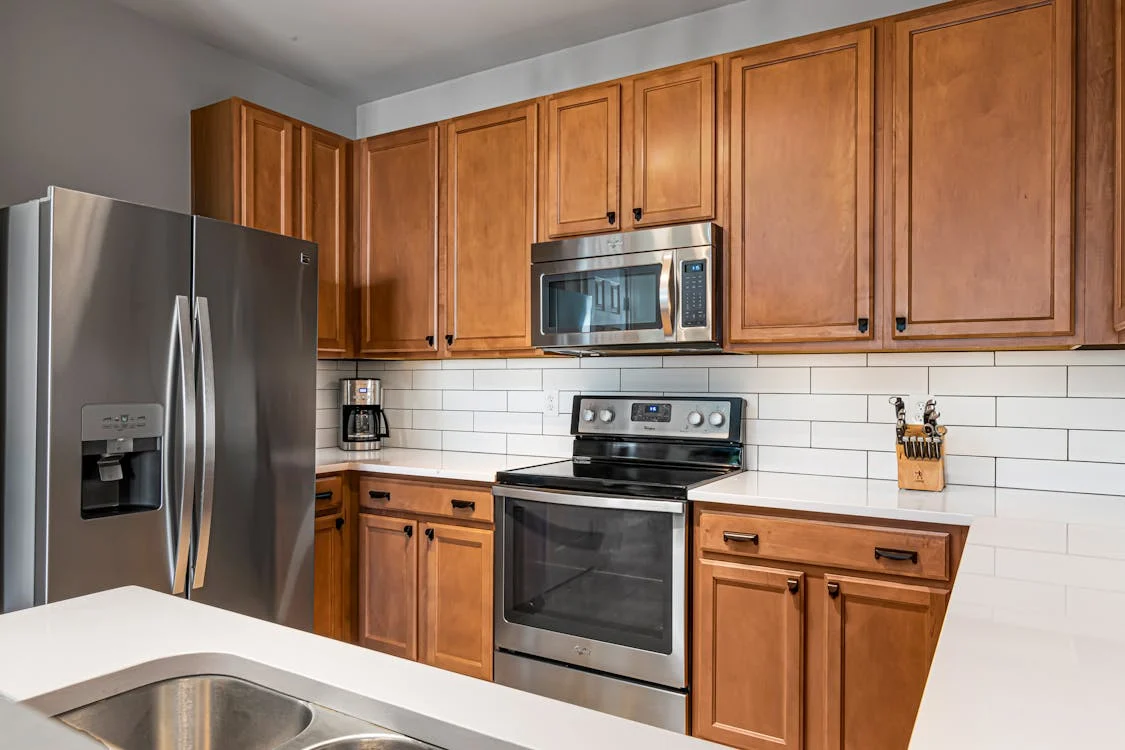
How to Install a Tile Backsplash for a Kitchen Makeover
Transforming your kitchen with a new tile backsplash is an excellent way to add personality and style to your space. Whether you're a DIY enthusiast or a first-timer, this guide will walk you through the process of installing a tile backsplash from start to finish.
Materials and Tools Needed
Before you begin, ensure you have all the necessary materials and tools. Here’s what you’ll need:
- Tiles: Choose the style and color that best fits your kitchen’s decor.
- Tile adhesive: Also known as thin-set mortar.
- Grout: Select a color that complements your tiles.
- Tile spacers: These help in maintaining even spacing between tiles.
- Notched trowel: Used to apply the adhesive.
- Tile cutter or wet saw: For cutting tiles to fit your space.
- Level: To ensure your tiles are aligned.
- Sponge and bucket: For cleaning up excess grout.
- Grout float: To apply and press grout into the joints between tiles.
- Safety glasses and gloves: Always prioritize safety.
Step-by-Step Installation Guide
Step 1: Prepare the Wall
- Clean the Surface: Ensure the wall is clean, dry, and free from grease. Remove any wallpaper and patch holes or imperfections.
- Measure the Space: Measure the height and width of the backsplash area to calculate the amount of tiles needed.
Step 2: Plan the Layout
- Dry Layout: Arrange tiles on the countertop to plan the layout, adjusting for tiles that need to be cut at the edges.
- Mark Guidelines: Use a level to draw horizontal and vertical lines as guides to keep your tiles straight.
Step 3: Apply Adhesive
- Mix Adhesive: Follow the manufacturer's instructions to prepare your tile adhesive.
- Spread Adhesive: Using the notched trowel, apply adhesive to a small section of the wall. Start from the center and work your way out.
Step 4: Set Tiles
- Place Tiles: Set your tiles onto the adhesive, using spacers to maintain even gaps. Press each tile gently but firmly.
- Cut Tiles: Measure and cut tiles to fit around any outlets or along edges.
Step 5: Apply Grout
- Remove Spacers: Once the adhesive has set (typically after 24 hours), remove all spacers.
- Mix and Apply Grout: Mix the grout according to the manufacturer's instructions and apply it using a grout float. Work it into the joints between the tiles.
- Clean Up: Wipe off excess grout with a damp sponge. Be sure to rinse the sponge frequently.
Step 6: Sealing and Finishing
- Seal the Grout: After the grout has cured (refer to the grout packaging for specific times), apply a grout sealer to protect it from moisture and stains.
- Caulk Edges: Apply caulk along the bottom edge where the backsplash meets the countertop to achieve a clean, finished look.
Additional Tips
- Tile Choice: Light-colored tiles can make your kitchen appear larger, while darker tiles offer a more dramatic look.
- Backsplash Height: Standard backsplashes are 4 inches high, but extending your backsplash to the cabinets or ceiling can create a striking visual impact.
Conclusion
Installing a tile backsplash is a rewarding project that enhances the aesthetic appeal and functionality of your kitchen. With the right preparation and some patience, you can achieve a professional-looking finish.
If you encounter any challenges or need personalized advice, remember that Mavyn offers both AI and human expert help services. You can chat with Mavyn GPT or connect with a human expert to get answers to your specific questions.
Remember, a beautiful kitchen is just a few tiles away!