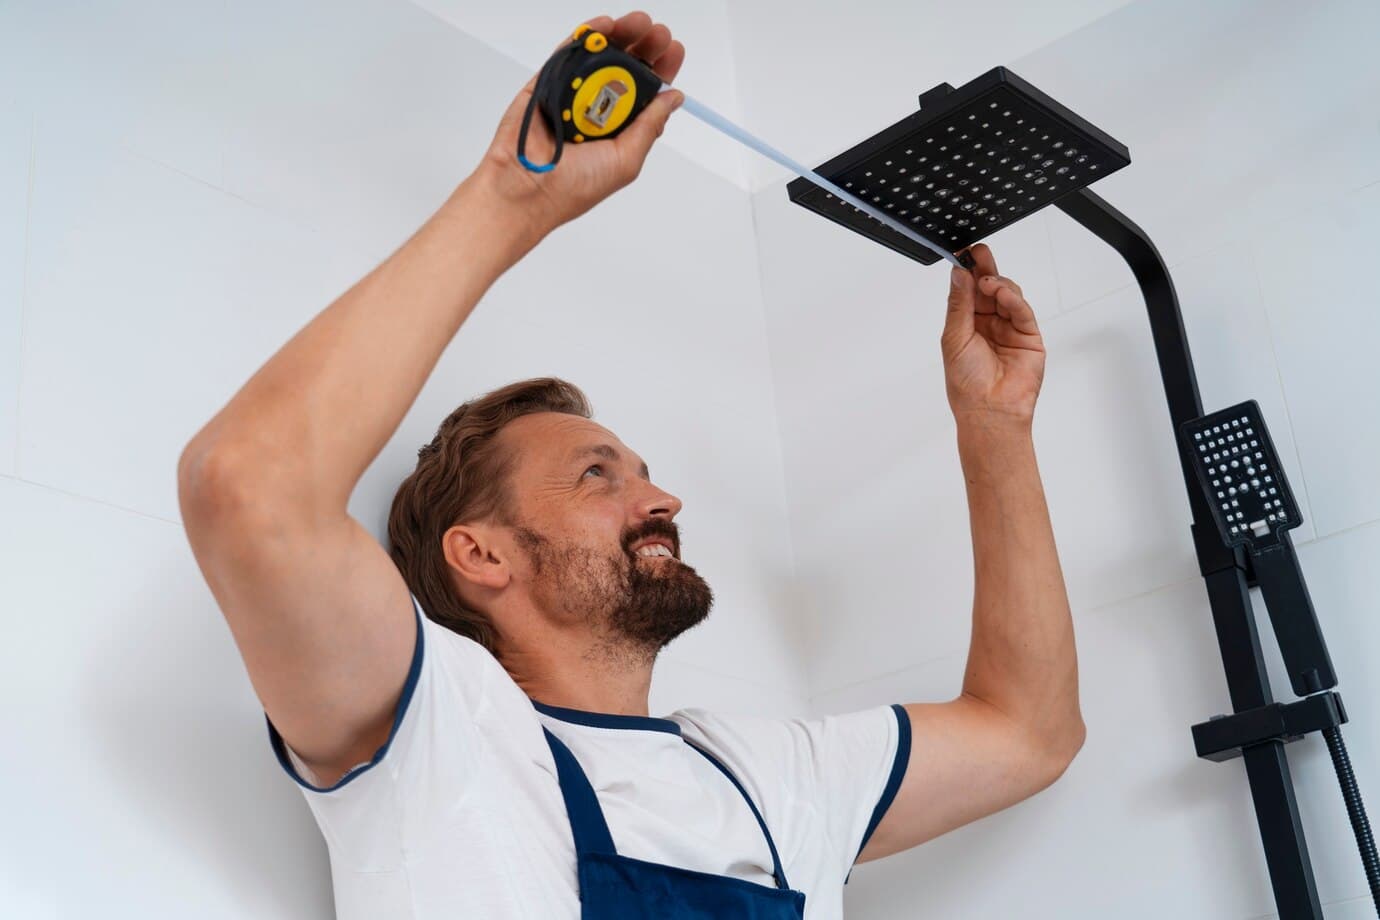
How to Replace Your Showerhead in 10 Minutes
Replacing a showerhead can seem like a daunting task, but with the right tools and a little know-how, you can upgrade your bathroom in just 10 minutes. Whether you're looking to save water with a high-efficiency model or just want to improve your shower experience, follow these simple steps to ensure a successful installation.
Tools and Materials Needed
Before you begin, make sure you have the following items:
- New Showerhead: Choose one that fits your needs and is compatible with your shower's threading.
- Adjustable Wrench: This will be used to remove the old showerhead.
- Teflon Tape: Essential for preventing leaks.
- Rag or Towel: Helps protect the finish of your showerhead and fittings.
- Bucket or Bowl: Optional, to catch any residual water.
Step-by-Step Guide to Replacing Your Showerhead
Step 1: Prepare the Area
Turn off the water supply to your shower to avoid any unexpected sprays. Although this isn't usually necessary for just a showerhead replacement, it's a good precaution to take.
Shop Tankless Water Heater Flushing Kit Now
Step 2: Remove the Old Showerhead
Wrap the rag around the base of the old showerhead to protect the finish. Use the adjustable wrench to loosen and unscrew the old showerhead. Turn it counterclockwise until it comes off. If it's particularly tight, apply more force gradually to avoid damaging the pipes.
Step 3: Clean the Threads
Inspect the threads on the shower arm (the pipe coming out of the wall) for any old Teflon tape or debris. Clean it off thoroughly to ensure a good seal with the new showerhead.
Step 4: Apply Teflon Tape
Wrap Teflon tape around the threads of the shower arm in a clockwise direction. This ensures that the tape will tighten onto the threads as you screw on the new showerhead. Typically, wrapping it around three to four times is sufficient.
Step 5: Install the New Showerhead
Align the new showerhead with the shower arm and screw it on by hand at first to avoid cross-threading. Once it's on securely, use the wrench with the rag to tighten it further. Be careful not to overtighten, as this can damage the threads or the showerhead itself.
Step 6: Test Your Installation
Turn the water supply back on and test the new showerhead for any leaks. Adjust the connections as necessary, tightening slightly if you notice any drips.
Conclusion
Replacing a showerhead is a quick and easy home improvement project that can significantly enhance your showering experience. With the right tools and a bit of effort, you can achieve professional results in no time.
If you encounter any issues during your installation, or if you're unsure about which showerhead to choose, remember that help is just a chat away. At Mavyn, you can connect with human experts or chat with Mavyn GPT for personalized assistance. Whether you need a recommendation for a showerhead or guidance on installation, we're here to help.
Remember, a successful DIY project is just a few steps away, and with Mavyn, you're never alone in your home improvement journey!
