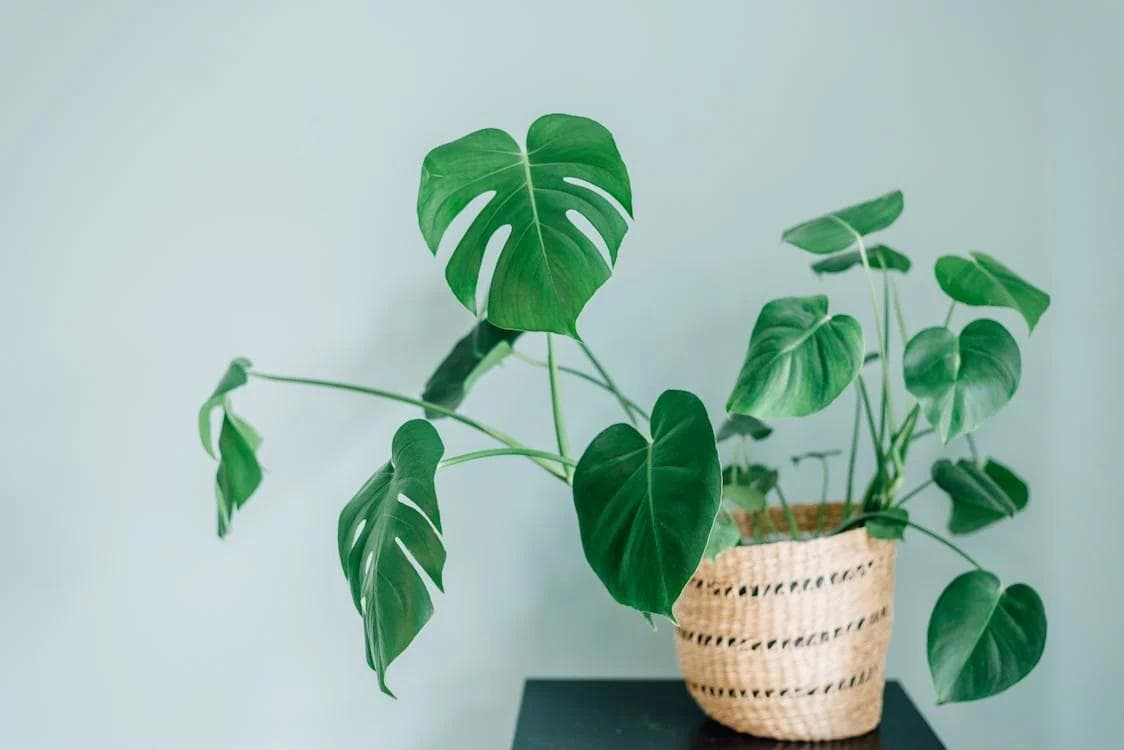
How to Repot a Monstera Plant - A Comprehensive Guide
Monstera plants, with their striking leaves and tropical vibes, have become a favorite among houseplant enthusiasts. However, as they grow, there comes a time when repotting is necessary to support their health and continued growth. This guide will walk you through the process of repotting your Monstera plant, ensuring it thrives in its new home.
When to Repot Your Monstera
Before diving into the repotting process, it's crucial to identify the right time for repotting. Here are a few signs that your Monstera is ready for a new pot:
- Roots are growing through the drainage holes.
- The plant is growing slower than usual (despite proper care).
- The soil dries out more quickly than it used to.
- Visible salt and mineral buildup on the soil surface.
Ideally, Monsteras should be repotted every 18-24 months, but these signs can help you decide if your plant needs it sooner.
What You'll Need
- A new pot: Choose one that is 2-3 inches larger in diameter than the current pot.
- Fresh potting mix: A well-draining, peat-based mix is ideal for Monsteras.
- Water
- Scissors or pruning shears (optional): For trimming any dead or excessively long roots.
- Gloves (optional): To keep your hands clean and protect them if you have sensitive skin.
Step-by-Step Guide to Repotting Your Monstera
Step 1: Prepare the New Pot
Start by placing a layer of fresh potting mix at the bottom of the new pot. This ensures that the roots have immediate access to nutrients and support as they adjust to their new environment.
Step 2: Remove the Monstera from Its Current Pot
Gently tilt the current pot and tap the sides to loosen the soil. Carefully pull the plant out by holding the base of the stem. If the plant is stuck, you may need to run a knife around the inside edge of the pot.
Step 3: Inspect and Trim the Roots (Optional)
Once out of the pot, inspect the root ball. Trim any dead, rotting, or excessively long roots with your scissors or pruning shears. This step is optional but can help promote healthy growth.
Step 4: Place Your Monstera in the New Pot
Center your Monstera in the new pot and begin to fill around the sides with fresh potting mix. Ensure the plant is at the same depth it was in the previous pot to avoid burying the stem too deep.
Step 5: Water Thoroughly
After repotting, water your Monstera thoroughly. This helps settle the soil and ensures that the roots have adequate moisture to begin adjusting to their new environment.
Step 6: Aftercare
Place your repotted Monstera in a location where it receives indirect light. Avoid direct sunlight for a few weeks to prevent stress. Keep the soil consistently moist but not waterlogged, and consider using a liquid fertilizer after a month to support new growth.
Conclusion
Repotting your Monstera doesn't have to be daunting. By following these steps, you can ensure a smooth transition for your plant into its new home, promoting health and growth. Remember, the key to a happy Monstera is not just about the right pot or soil but also about ongoing care and attention. Happy gardening!
